Seeburg Jukebox Restoration, part 3

The jukebox cabinet, down to the bare skeleton.

The restoration plan of attack is to start at the skeleton of the jukebox and restore various sections and parts and gradually put it all back together.

Everything in this jukebox is covered in a yellow grime.  Fortunately strong detergents will remove it.  It occurred to me that this is residue from cigarette smoke.  This jukebox spent all of its working life during an era when cigarettes were very popular in society and smoking in restaurants and bars was encouraged.  We’ve all seen images from old movies of pin-up girls selling cigarettes from a tray around their necks.

I’ve finished the top lid of the jukebox.

Refinished jukebox top

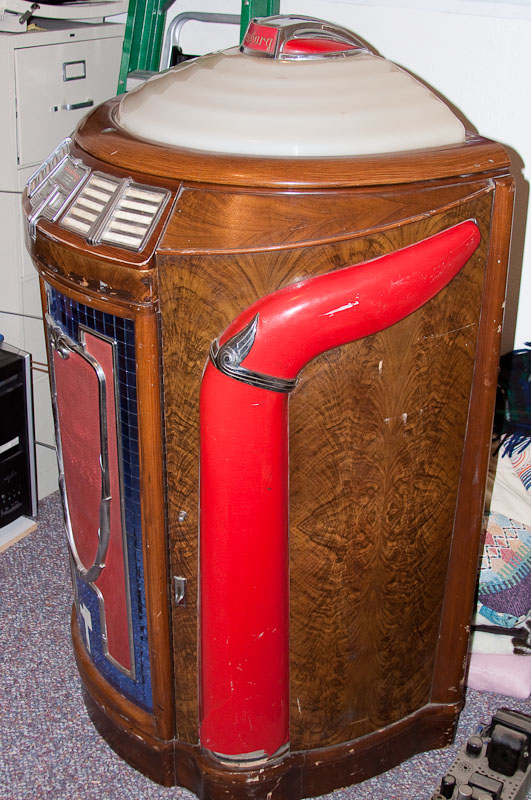
You might notice it’s different from the photo in the orginal post.  At some point in the past, the original red dome was swapped out with a white scalloped dome.  The white dome was used on the later versions of this jukebox (circa 1947-1948).  I was able to get a new red dome from a company that makes reproduction parts for old jukeboxes.  So now it’s back to its original configuration.

See all posts related to this jukebox.

Seeburg Jukebox Restoration, Part 2

As prevously mentioned, I’ve begun the Seeburg jukebox model 146 restoration project. Since the cabinet is in fairly good shape, I’ve wanted to only fix the various blemishes instead of stripping and refinishing the whole thing.

It turns out that stripping is not even an option. Even though the cabinet is mostly wood, they used a faux wood-grain on everything.

This realistic looking walnut burl has been printed directly onto the wood, probably using a silkscreen.

It’s been a real challenge to find stains and paints to match the existing finish.  The color shades are different on various parts of the jukebox.  In addition to that, these days many stains and paints are not compatible with each other or with various topcoats such as lacquer or polyurethane.

For example I found a set of stains from Old Masters that match closely to the shades used on the jukebox, but it turns out they blister when I topcoat them with lacquer.  Polyurethane doesn’t cause this problem but I prefer to use lacquer.  Polyurethane doesn’t cure entirely hard which makes it difficult to rub out imperfections in the final finish.  Another drawback is it tends to yellow with age.  Lacquer was originally used on this jukebox.

So it’s been a bit of a slow start while I tested all of the combinations of paints, stains and topcoats.  Zar stains are compatible with lacquer but I have to blend the colors myself to get the right shade.

See all posts related to this jukebox.