Or perhaps I should have titled this post “Jukebox Porn: Seeburg exposes all!”
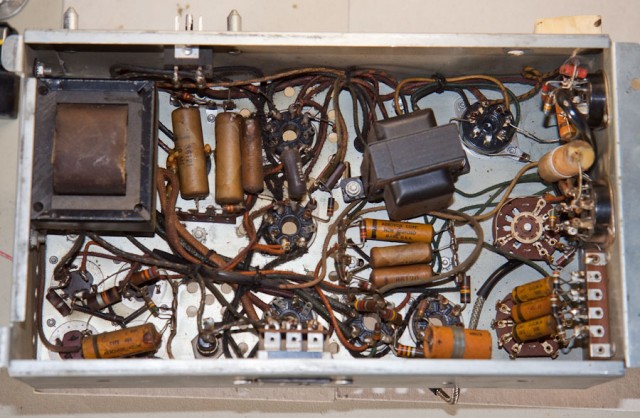
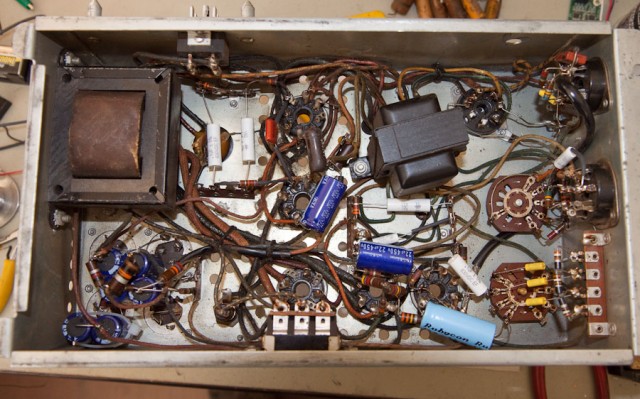
I finished rebuilding the amplifier. I replaced all of the capacitors because 60-70 years ago, capacitor technology wasn’t very good.
In the photo above, the yellow/brown tubular things are capacitors. In those days they were made out of foil and paper and coated with hard wax. Upper left of center, two of the capacitors are looking a little burnt.
Not shown because they are mounted on the other side, electrolytic capacitors contain a paste that dries out and sometimes the paste leaks out (as had happened to one of the capacitors).
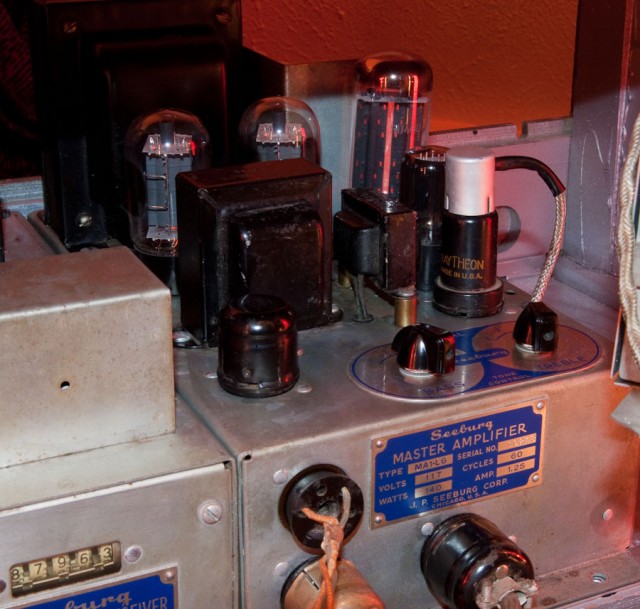
When it came time to power it up, it worked!
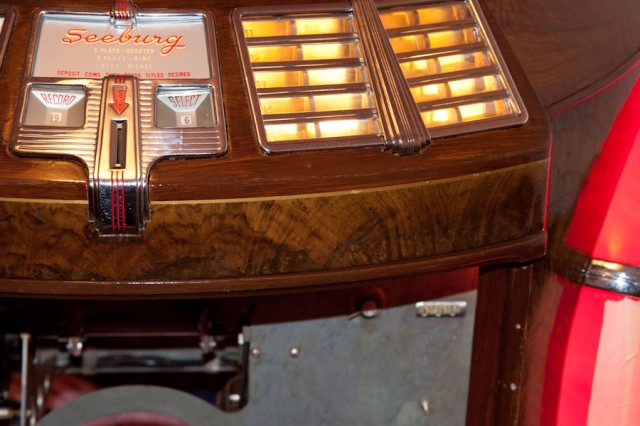
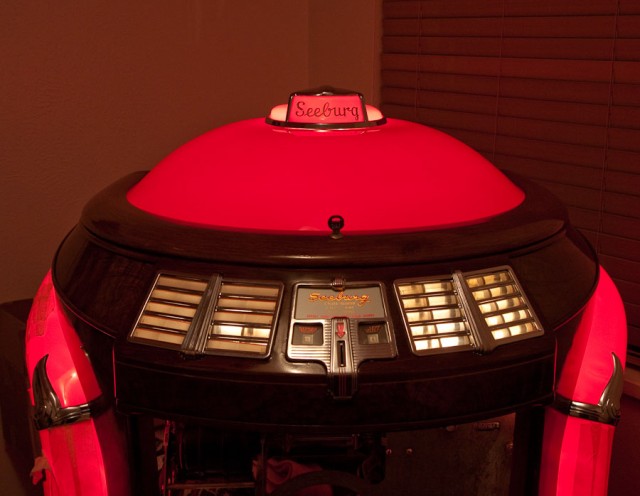
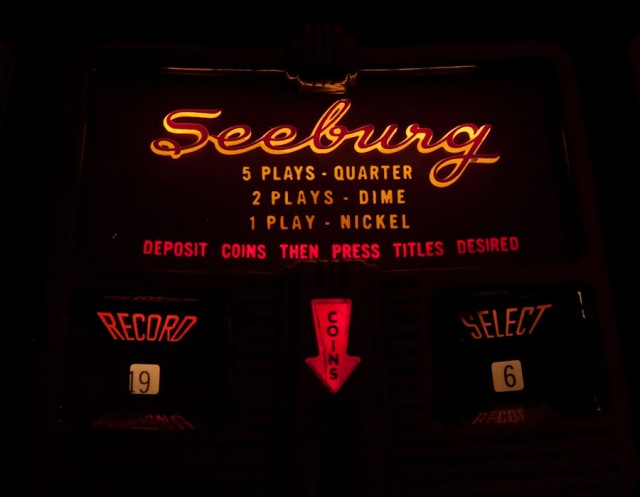
Here are some photos of the whole thing. The front door is finished, but I have left it off to give me better access. I’ll probably install it in the next few days.
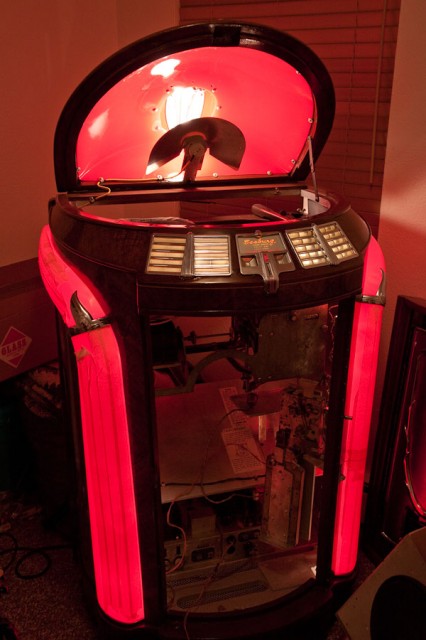
Seeburg 146 with open top, no front door. Masking tape covers the lower red plastic pieces so I won't scratch them.
See all posts related to this jukebox.


YAY! It’s beautiful! Congratulations on a job well done!
Thank you, Jane!