
Every winter I crank up the bread production and for the third winter in a row, I’ve used a sourdough culture.
A sourdough culture is a symbiotic relationship between lactobacillus and wild yeast. The lactobacillus converts natural sugars in the flour into lactic acid (sour) and the yeast is also feasting on those sugars and making gas and ethanol. I love a really good sourdough, one that tastes sour but also has a sweet taste, as if honey was added. I’m guessing the sweetness is from the remnants of the ethanol after baking (the sweetness is most prevalent shortly after baking).
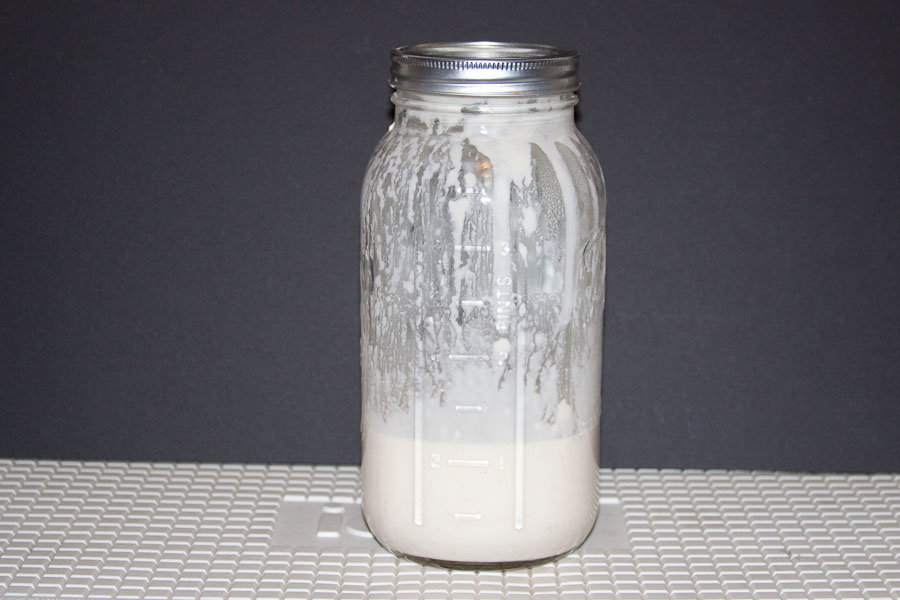
Sourdough starter just after feeding. In 12 hours it will rise to double.
Each year I’ve used different sourdough starters. One came from the bakery at Whole Foods Market, where they bake a decent batch of sourdough loaves daily. Another I mail ordered from Ed Wood’s International Sourdoughs. This year, I started my own starter from organic rye flour, which has naturally occurring lactobacillus in it. In all cases, I had starter ready to use after about 4 days.
Last year I made a proofing box. It isn’t necessary for sourdough bread, but it makes things a little easier.

My old Igloo cooler in service as a proofing box for bread dough and starter.
I started with my cooler and added a light and a temperature thermostat.
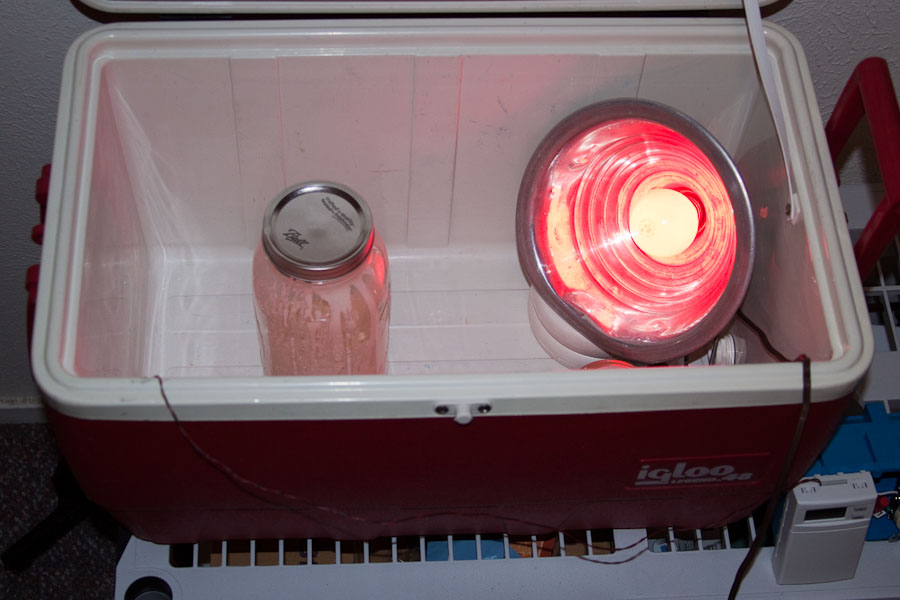
Inside of cooler with 25 watt light bulb and jar of starter. When I’m making a loaf, it goes in there, too.
The starter was really easy this year. I started with 4 ounces of organic rye flour and enough water (without chlorine) to make a pancake batter consistency. Put it into a quart or liter sized glass jar and put the lid on loosely so it can still breathe. I put the jar in the proof box at 90 degrees F for 24 hours. I didn’t see much of change in the first 12 hours. After 24 hours there was evidence it had nearly doubled, then contracted back down. It smelled pretty acidic, which meant things were going well. Then I added 4 ounces of regular flour and enough water for a thicker pancake batter consistency and reduced the temperature to 74 degrees F.
Every 24 hours, I stir it down and dump out all but 1 cup, and add another mixture of 4 ounces of flour and water. This is the feeding process. Because ethanol is being produced and making the starter thinner, I use less water for the feedings, so that the flour/water mixture I’m adding has almost a peanut butter consistency (somewhere between pancake batter and bread dough). About 6 to 12 hours after each feeding (once you get past the first few days), the starter will get bubbly and rise. Because of my altitude, the starter will go crazy and I have to use a larger jar.
The yeast and the lactobacillus thrive at slightly different temperatures. The yeast does great at room temperature. The lactobacillus likes to be a little warmer. At the warmer temperatures (more lactic acid generated from the lactobacillus), the yeast is not as active. So there is a trade-off: more sour and less leavening, or more leavening and less sour. The important thing is to make sure there is enough sour to keep other wild organisms from taking over and ruining it.
They say (I don’t know who “they” are), that a sourdough starter takes on the personality of the caretaker, the flour and water.
I mentioned above that I dump out all but one cup. The part that is dumped is used to make bread dough, or goes down the drain if I’m not making bread that day. Once the starter is stabilized and living a happy life, it can be refrigerated and only fed every 3-5 days, maybe weekly.
I won’t cover making bread in this post, but I will usually take the starter dumped at feeding time and add it to 1 pound of flour and enough water to make dough. Let the dough sit for 15-20 minutes after mixing, then add teaspoon of salt before kneading.
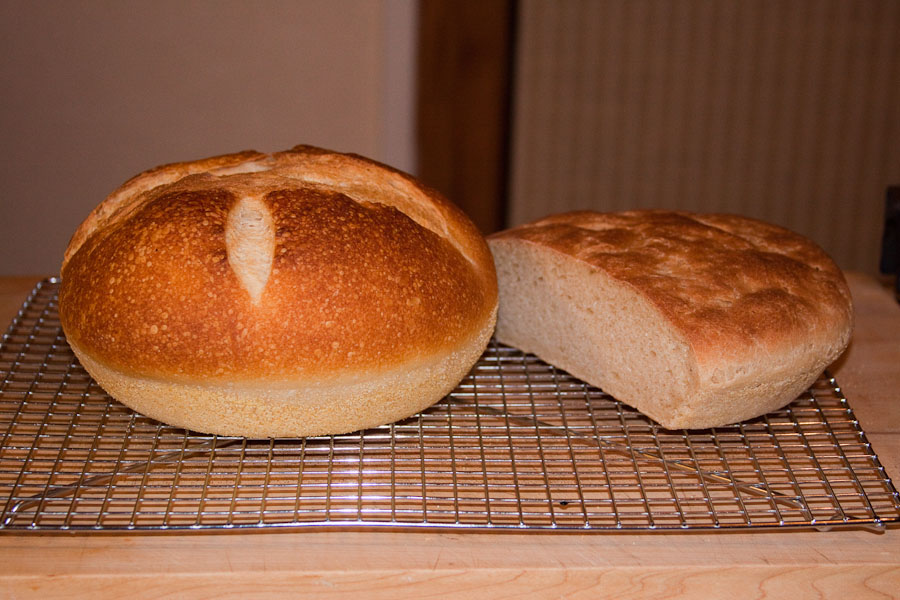
Difference in height from using flours with different protein contents.
After baking several loaves that came out on the flat side, it dawned on me that the flour was probably at fault. In the past I’ve had no problems with Bob’s Red Mill Organic Unbleached All Purpose Flour. But this year, perhaps with using a different crop of wheat, it sucks! (See loaf on right in above photo.) In previous years I didn’t like King Arthur Organic Bread flour due to the stale taste. But this year, the King Arthur flour tastes good, and as you can see on the left in the photo above, has a better protein content, which makes better/more gluten and bigger bread. I’ve learned I can’t hang my hat on any particular brand and that it’s going to vary.
I become ecstatic when, after all the feeding and kneading, I get a loaf that has just the right combination of sour and leavening, and I just want to share it with everybody I know.


